What Are the Dimensions for Processing Industrial Mirror Rollers?
Industrial mirror surface rollers are key equipment in industries such as thin film processing, metal rolling, paper coating, and optical material shaping. Their machining dimensions and precision determine the surface smoothness, thickness uniformity, optical quality, and overall stability of the final product.
Therefore, "What are the machining dimensions and precision of industrial mirror surface rollers?" is always one of the most pressing questions for users.
In industrial applications, mirror surface rollers not only require large roller dimensions but also extremely high surface roughness, extremely low circular runout error, excellent concentricity, and strict straightness. Especially in high-end manufacturing, the machining capabilities of mirror surface rollers directly impact production line performance.
This article will systematically explain the machining range, precision requirements, machining standards, inspection methods, factors affecting precision, and the large-scale machining capabilities of mirror surface rollers.
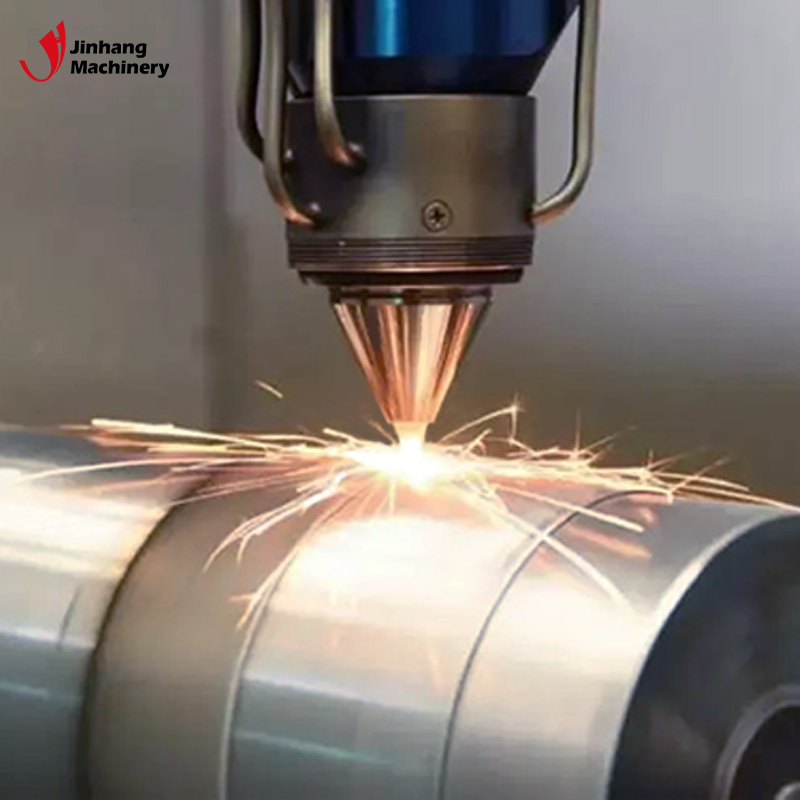
Why is the machining precision of mirror surface rollers so important?
A mirror surface roller is essentially a functional roller that comes into direct contact with the material during rolling. The surface texture, geometric accuracy, and dimensional stability of a material determine whether it can achieve:
• Optical-grade flatness
• Stable thickness distribution
• Consistent gloss and surface replication effect
• A forming state that is free from deformation, stretching, and fluctuation.
The higher the precision of the mirror roller, the higher the surface quality of the produced films, metal foils, composite materials, or coated products. Therefore, high-precision machining is a core requirement of the mirror roller industry.
What are the typical dimensional ranges for industrial mirror rollers?
The machining dimensions of mirror rollers include:
• Outer diameter
• Total length
• Effective mirror length
• Shaft head structure dimensions
• Mirror layer thickness
Different manufacturers have different machining capabilities, but Jinhang Machinery, a Chinese industrial roller manufacturer, possesses industry-leading capabilities in machining large mirror rollers. Its parameters are as follows:
• Maximum machined outer diameter: 2000 mm
• Maximum machined length: 8000 mm
• Maximum mirror roller surface roughness: RA 0.005 μm
• Maximum overall accuracy (coaxiality/circular runout): 0.002 mm
These parameters demonstrate that the mirror roller manufacturing industry has the capability to machine large-size, high-precision rollers.
The meaning and function of different dimensional elements will be explained below.
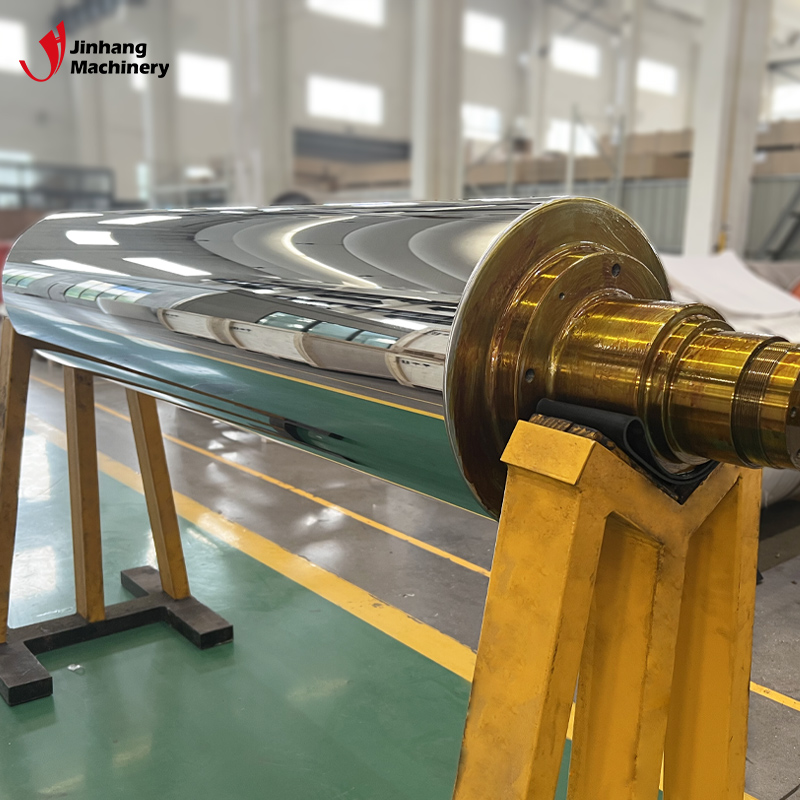
What is the typical outer diameter of an industrial mirror roller?
The outer diameter of a mirror roller affects machine compatibility, production line speed, cooling capacity, and surface contact area.Common outer diameters include:
• 150mm~600mm: Small to medium-sized mirror rollers, used for narrow-width films, coating, etc.
• 600mm~1200mm: Used for medium-width films, metal foils, etc.
• 1200mm~2000mm: Large mirror rollers, commonly found in wide-width BOPP, PET, coating, and composite materials industries.
Jinhang Machinery's maximum outer diameter can reach 2000mm, meaning it can serve ultra-wide-width production lines.
How long can mirror rollers be processed?
The processing length of mirror rollers also determines their application range, especially significant in the high-speed wide-width film industry.
Common processing length ranges in the industry:
• 1–3 meters: Commonly used in the general film and coating industry
• 3–5 meters: Used in large-scale plastic film and rubber sheet production lines
• 5–8 meters: Used in ultra-wide film and functional material production lines requiring high stability
Jinhang Machinery boasts a maximum processing length of 8000 mm, placing it among the top performers in the industry.
Long-length processing places extremely high demands on machine tool straightness, guideway rigidity, and dynamic stability.
What is the typical surface roughness achievable with mirror rollers?
The lower the surface roughness of a mirror roller, the smoother its surface, and the more it imparts high gloss, high reflectivity, and high surface quality to the material.
Common Roughness Comparison:
Mirror Finish Grade | Roughness Ra | Surface Effect
Ordinary Polishing Roller | Ra 0.05–0.1 μm | Noticeable Texture
High-Grade Mirror Roller | Ra 0.01–0.02 μm | High Gloss, No Noticeable Texture
Ultra-Precision Mirror Roller | Ra 0.005 μm | Almost Optical Grade Mirror Finish
Jinhang Machinery can achieve a mirror finish of Ra 0.005 μm, belonging to the ultra-precision mirror roller grade.
This surface quality can be used for:
• Optical Films
• PET, BOPP, CPP
• Metal Foils
• Functional Coating Materials
• High-End Composite Materials
For products with extremely high requirements for smoothness and reflectivity.
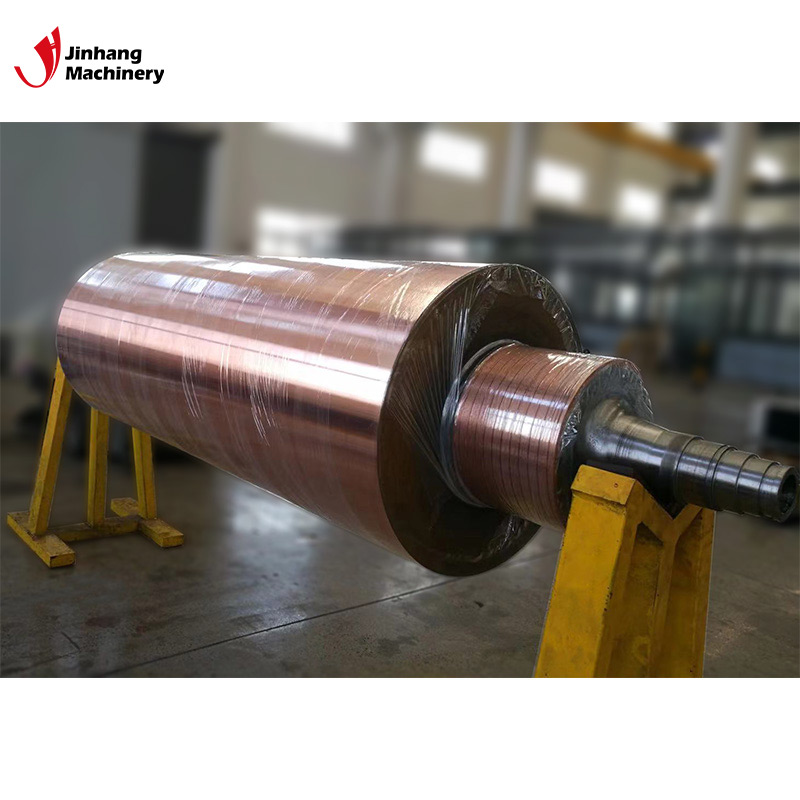
What is the achievable runout accuracy of mirror rollers?
Runout accuracy affects the stability of materials during high-speed operation.
High-precision mirror rollers must meet the following requirements:
• No wobbling during rotation
• No surface stagnation or jamming
• Consistent material thickness
• Thickness variation controlled within the micron range
Industry-standard precision levels:
• 0.01–0.005 mm: Standard requirements
• 0.005–0.003 mm: High precision requirements
• 0.002 mm: Top precision
Jinhang Machinery's mirror rollers can achieve a processing precision of up to 0.002 mm, which is currently among the most advanced levels in the industry.
How are the straightness and concentricity of mirror rollers controlled?
The longer the mirror roller, the higher the requirements for straightness and concentricity; otherwise, it will lead to:
• Material serpentine movement
• Thickness variations
• Uneven local contact
• Inconsistent surface pressure distribution
High-precision mirror rollers typically require:
• Straightness: ≤0.02 mm / 1000 mm
• Concentricity: ≤0.005 mm–0.003 mm
• Shaft head runout: ≤0.002 mm (high level)
Large mirror rollers are processed using a combination of a high-rigidity lathe, a precision grinding machine, an ultra-precision polishing machine, and a dedicated dynamic balancing machine.
What factors determine the machining accuracy of mirror rollers?
Factors affecting the accuracy of mirror rollers include:
1. Roller body base material strength
Such as 45# steel, alloy steel, stainless steel, 38CrMoAl, etc.
2. Machine tool capabilities
Including guideway accuracy, cutting rigidity, and grinding wheel stability.
3. Mirror Polishing Process
Rough Polishing → Fine Polishing → Mirror Polishing → Super Mirror Polishing
4. Surface Coating
The hardness of coatings such as hard chrome, ceramic, and tungsten carbide affects the final surface roughness.
5. Temperature Control
Temperature during processing affects thermal expansion, thus impacting accuracy.
6. Equipment Dynamic Balancing Capability
Extremely low amplitude must be maintained during high-speed operation.
7. Accuracy of Testing Instruments
Such as coordinate measuring machines, surface roughness testers, laser measurement systems, etc.
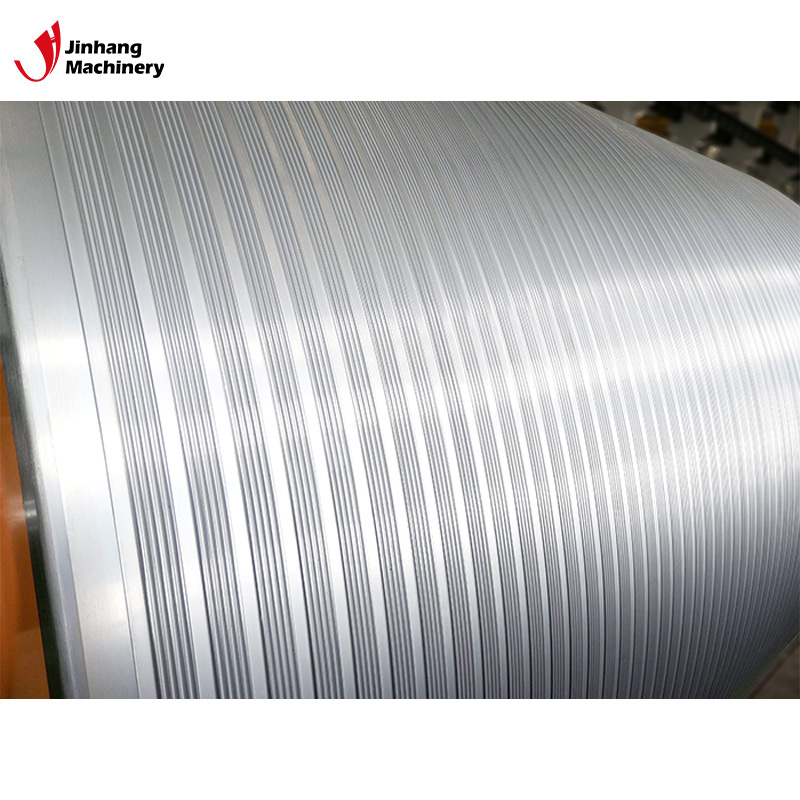
What are the common processing standards for mirror rollers?
The general processing requirements for mirror rollers include:
• Surface roughness: Ra ≤ 0.01 μm
• Circular runout accuracy: 0.003–0.005 mm
• Coating thickness consistency: ±2–5 μm
• Straightness: ≤0.02 / 1000mm
• Hardness: HRC 50–65 (depending on the coating)
• Dynamic balance grade: G2.5 or G1.0
Jinhang Machinery's processing capabilities are at a high standard:
• Ra 0.005 μm
• Accuracy 0.002 mm
• Length 8000 mm
• Outer diameter 2000 mm These are far higher than the average level of ordinary processing plants.
How is the mirror finish of mirror rollers achieved?
Mirror finishing involves the following steps:
1. Initial turning → Finish turning
2. Rough grinding → Fine grinding
3. Polishing (dozens of processes)
4. Coating (e.g., hard chrome or ceramic)
5. Post-coating fine grinding
6. Ultra-fine polishing (mirror-grade)
7. Laser inspection of surface roughness
8. Dynamic balancing calibration
The final mirror roller achieves a highly glossy, dense surface with no visible processing marks.
What are the advantages of larger mirror roller processing capacity?
Larger-scale processing means:
• Meeting the needs of wide-width film equipment
• Manufacturing high-tonnage pressure rollers
• Suitable for longer production lines
• Meeting the needs of high-speed, high-tension operation
• Providing more uniform cooling or heating effects
Especially in the BOPP, PET, lithium battery film, and optical film industries, large-size mirror rollers are a necessity.
Jinhang Machinery's processing capacity (2000mm outer diameter, 8000mm length) meets these requirements.
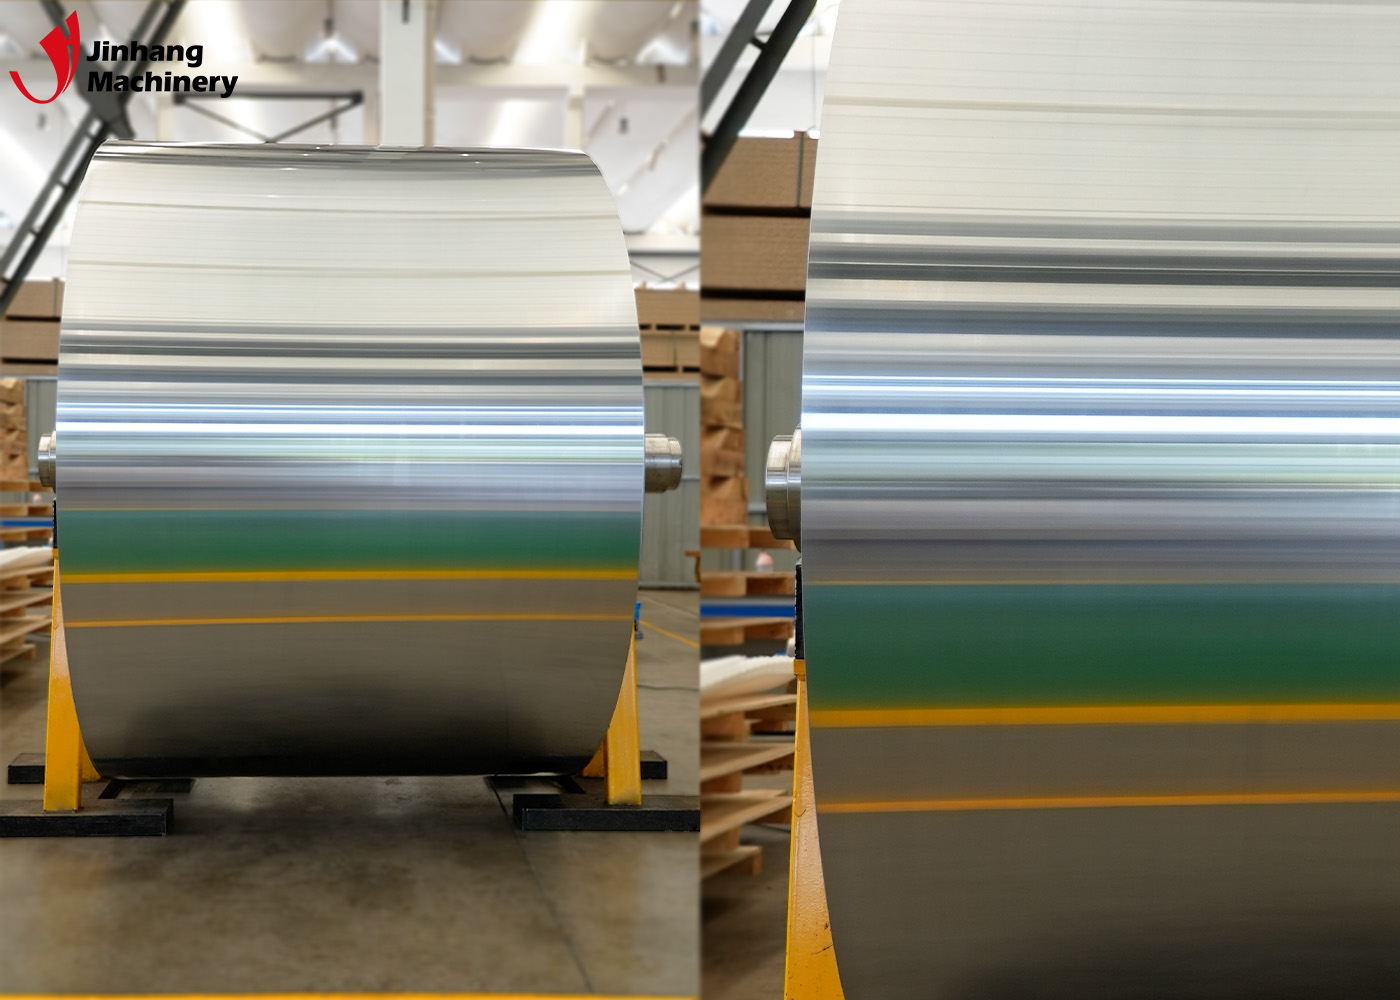
Does a larger mirror roller make achieving the required precision more difficult?
Yes.
The longer and larger the mirror roller, the more challenges it presents:
• Greater length → Easier to bend
• Larger outer diameter → More difficult to control runout
• Higher weight → Requires sufficient machine tool rigidity
• Thicker coating → More critical stress control
• Brighter mirror surface → More noticeable small imperfections
However, Jinhang Machinery, using large CNC lathes, precision support systems, and dynamic temperature control technology, still maintains a precision of 0.002mm.
How is the precision of mirror rollers tested?
Mirror rollers typically undergo the following before leaving the factory:
• Laser detection of circular runout
• Surface roughness test
• Coordinate measuring machine for concentricity
• Balancer for dynamic and static balance
• Coating thickness gauge for thickness uniformity
• Hardness tester for surface hardness.
Only after integrating all the data can the overall performance of the mirror roller be determined.
